通过TinyProxy+Stunnel搭建一个代理服务器

一、前提

工作需要用到代理爬一下境外的网站,但是自己找的哪些免费的都不是很好使,不是超时就是被封禁。

所以自己买了个美国的服务器,准备自己搭建一个代理,供自己使用。

工具

  1. 一台服务器
  2. 一台客户端

二、搭建

首先我是准备使用squid搭建服务器的,但是发现现在国内貌似单单搭建squid的话,只能访问国内的网站,国外的访问不了,并且如果是境外的服务器,可能连国内的网站都访问不了,所以当时其实是比较崩溃的,不过如果有人想要尝试,我可以简单说一下其中的问题:
squid

照着教程配置的话,其中有一个是给所有的连接权限,如果设置的0.0.0.0/0.0.0.0的话,启动是会报错的,我们应该使用all来给全体访问连接权限。

然后就是直接切入正题,说说我用的方法

TinyProxy+Stunnel

我是用的TinyProxy+Stunnel这两个合起来搭建的。
首先是是安装这两个库

TinyProxy
1
yum install -y tinyproxy

如果提示nothing的话,那么就代表你的服务器包管理种没有tinyproxy,那么就是用下面的指令来下载即可

1
2
3
yum install -y epel-release
yum update -y
yum -y install tinyproxy

安装完成后我们进行配置

1
vim /etc/tinyproxy/tinyproxy.conf

我为了测试就设置的所有人都允许访问我这台主机,
也就是把

1
Allow 127.0.0.1

注释掉
然后简单说一下其中比较有用的几个内容

1
2
Port 8888
#DisableViaHeader Yes

这两个,第一个是端口,第二个是请求头,可以根据自己的需求进行修改。

1
2
systemctl start tinyproxy.service
systemctl enable tinyproxy.service

一个是启动tinyproxy一个是关闭tinyproxy

1
2
3
4
# 允许访问
iptables -I INPUT -p tcp --dport 8888 -j ACCEPT
# 拒绝访问
iptables -I INPUT -p tcp --dport 8888 -j REJECT

然后再给予访问权限,再设置一下防火墙就可以了。

1
2
firewall-cmd --zone=public --add-port=8888/tcp --permanent
firewall-cmd --reload
Stunnel

之后我们再配置一下stunnel

1
2
yum install -y stunnel
vim /etc/stunnel/stunnel.conf

应该打开stunnel.conf会发现文件是空的,我们直接把写好的配置复制进去就好了。

1
2
3
4
5
[tinyproxy]
accept = 0.0.0.0:3128
connect = 0.0.0.0:8888
cert = /etc/ssl/cert.pem
key = /etc/ssl/key.pem

accept的端口我们随便设置一个任意的就行
然后connect是前面tinyproxy的端口。
下面的两个是证书。

安装证书,上面是命令,下面是信息

1
2
3
4
5
openssl genrsa -out /etc/ssl/key.pem 4096
Generating RSA private key, 4096 bit long modulus
......................................................................++
..............................................................++
e is 65537 (0x10001)
1
2
3
4
5
6
7
8
9
10
11
12
13
14
15
16
17
18
19
20
openssl req -new -x509 -key /etc/ssl/key.pem -out /etc/ssl/cert.pem -days 1826
You are about to be asked to enter information that will be incorporated
into your certificate request.
What you are about to enter is what is called a Distinguished Name or a DN.
There are quite a few fields but you can leave some blank
For some fields there will be a default value,
If you enter '.', the field will be left blank.
-----
Country Name (2 letter code) [XX]:US
State or Province Name (full name) []:Arizona
Locality Name (eg, city) [Default City]:Phoenix
Organization Name (eg, company) [Default Company Ltd]:
Organizational Unit Name (eg, section) []:
Common Name (eg, your name or your server's hostname) []:VM_0_17_centos
Email Address []:[email protected]
ls -lh /etc/ssl/
total 8.0K
-rw-r--r-- 1 root root 2.1K Feb 17 11:03 cert.pem
lrwxrwxrwx 1 root root 16 Feb 6 11:56 certs -> ../pki/tls/certs
-rw-r--r-- 1 root root 3.2K Feb 17 10:55 key.pem

然后我们启动stunnel即可

1
stunnel

不过这里我们需要给3128开一下防火墙,要不然是访问不了的。

1
2
firewall-cmd --zone=public --add-port=3128/tcp --permanent
firewall-cmd --reload
配置windows客户端

之后我们配置windows客户端即可。
首先需要下载stunnel客户端
https://www.stunnel.org/downloads.html下载对应的版本然后安装即可。
之后使用xftp连接服务器,然后将前面生成的cert.pem证书下载到stunnel客户端的config内。

然后再配置一下stunnel.conf即可。

1
2
3
4
5
6
7
8
9
debug = info
output = stunnel.log

[tinyproxy]
client = yes
accept = 2221
connect = x.x.x.x:3128
CAfile = cert.pem
verify = 3

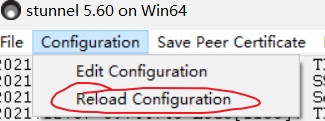
connect就是你服务器的地址,然后accept就是你设置代理的地址,配置好后打开客户端重载一下配置即可。
然后我们设置一下浏览器,推荐使用的插件是switchyOmega,简单配置上我们的ip和端口就可以访问了127.0.0.1:xxxx
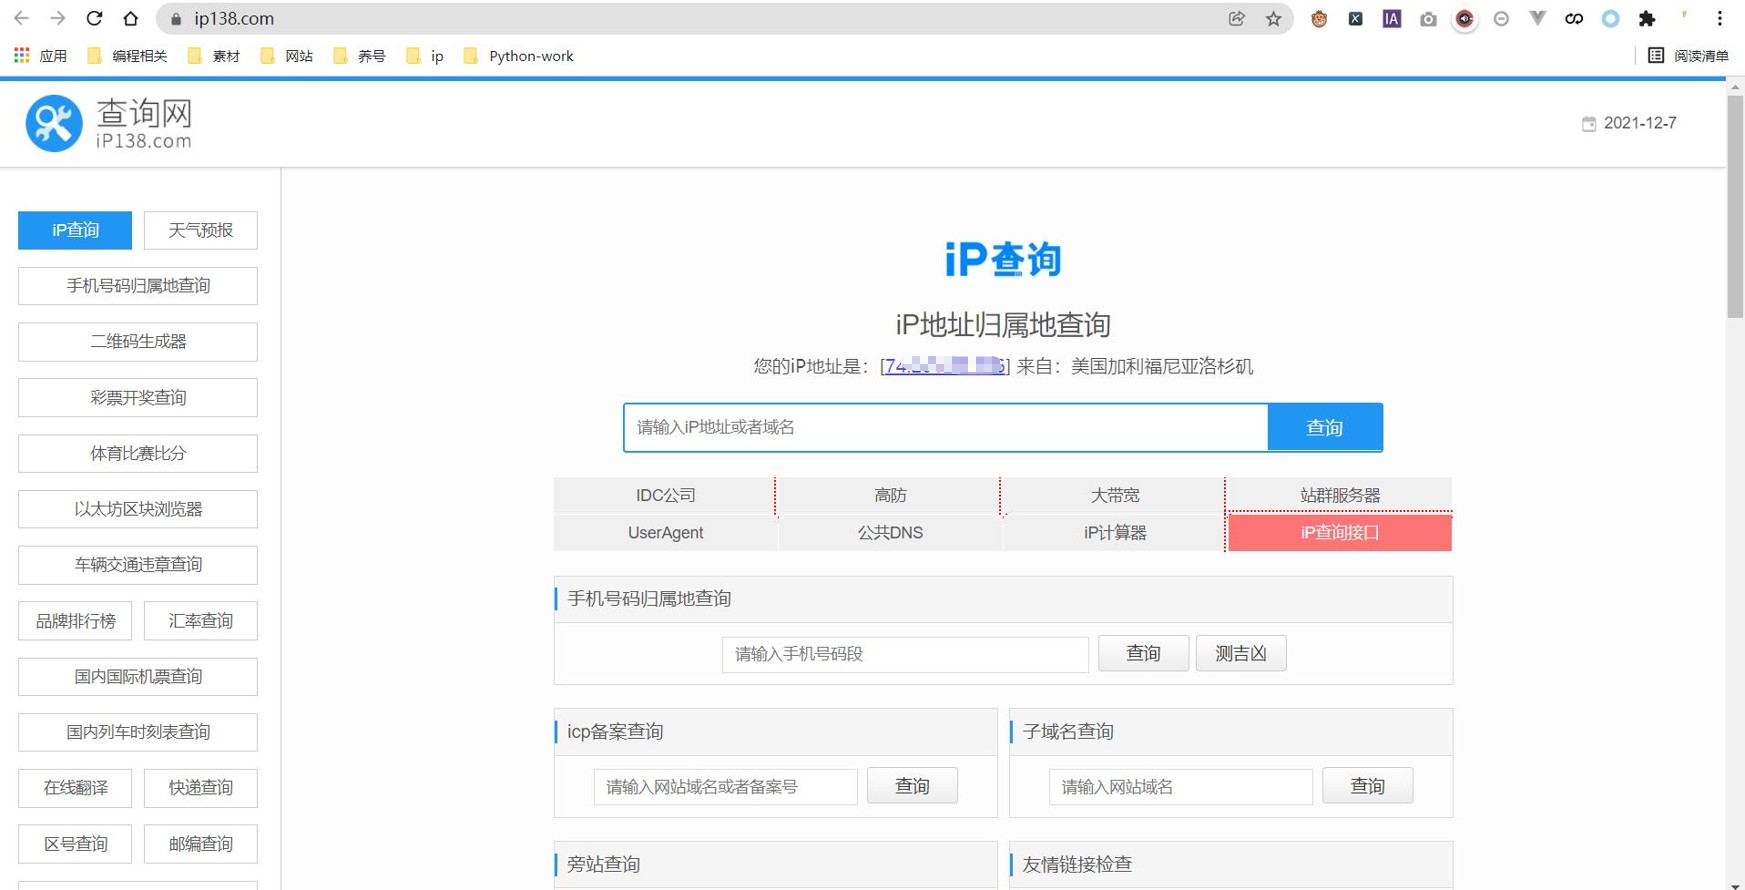
使用python访问
1
2
3
4
5
6
7
8
9
10
import requests
proxies = {
"http":"http://127.0.0.1:xxxx",
"https":"http://127.0.0.1:xxxx"
}

url="https://www.google.com"
res=requests.get(url, proxies=proxies, timeout=5)
print(res)
print(res.text)

这里要注意的一点就是timeout的设置,不要太短,因为加载传输需要一点点时间,如果设置太短的话,会百分百超时的。

通过TinyProxy+Stunnel搭建一个代理服务器

http://www.datehoer.com/posts/69c3e864-6e80-11ee-a697-01b0896cf41d/

作者

datehoer

发布于

2021-12-07

更新于

2023-10-19

许可协议

评论